
Key Steps to Install a Stop Ring
1.Ensure Compatibility:
- Verify that your Zund router is compatible with the ARC system and stop rings. This is crucial for precise tool changes.
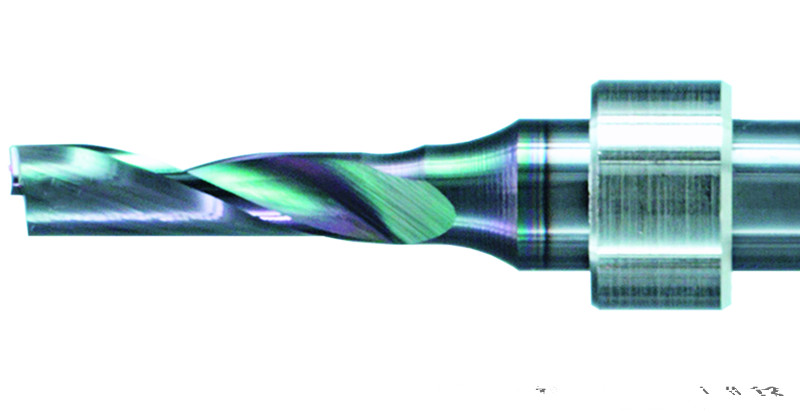
2. Prepare the Router Bit:
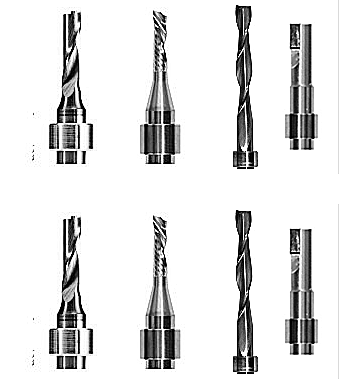
- Select a router bit that is designed for use with a stop ring. Typically, these bits have a specific shaft diameter (e.g., 6 mm) that fits the ARC system.
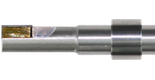
3. Mount the Stop Ring:
- Place the stop ring onto the router bit shaft. Ensure it is securely seated to provide a precise stopping point during tool changes.
4. Secure the Bit:
- Insert the router bit into the tool holder and secure it according to the Zund's specifications. This ensures the bit is firmly held in place.
5. Configure the ARC System:
- Set up the ARC system to recognize the stop ring and the router bit. This may involve initializing the tool using the Integrated Tool Initialization (ITI) system.
6. Test the Setup:
- Perform a test run to ensure the stop ring is functioning correctly and the tool changes are precise.

More models:Zund Milling & Router Bits
SHARE:
PREV : Aristo System 7265 7267 7275 Carbide Plotter Knife Blades Difference NEXT : How do I properly use a stop ring with a Zund router


